1. Pipeline 结构概览
examples/LLM.yaml

2. 编译Pipeline文件
在终端执行以下命令进行编译:3. 配置运行参数
根据你的环境需求,修改examples/parameter/LLM_parameter.yaml。以下示例展示了如何将后端从 vLLM 切换为 OpenAI API 标准接口,并调整了模型名称与系统提示词。
examples/parameter/LLM_parameter.yaml
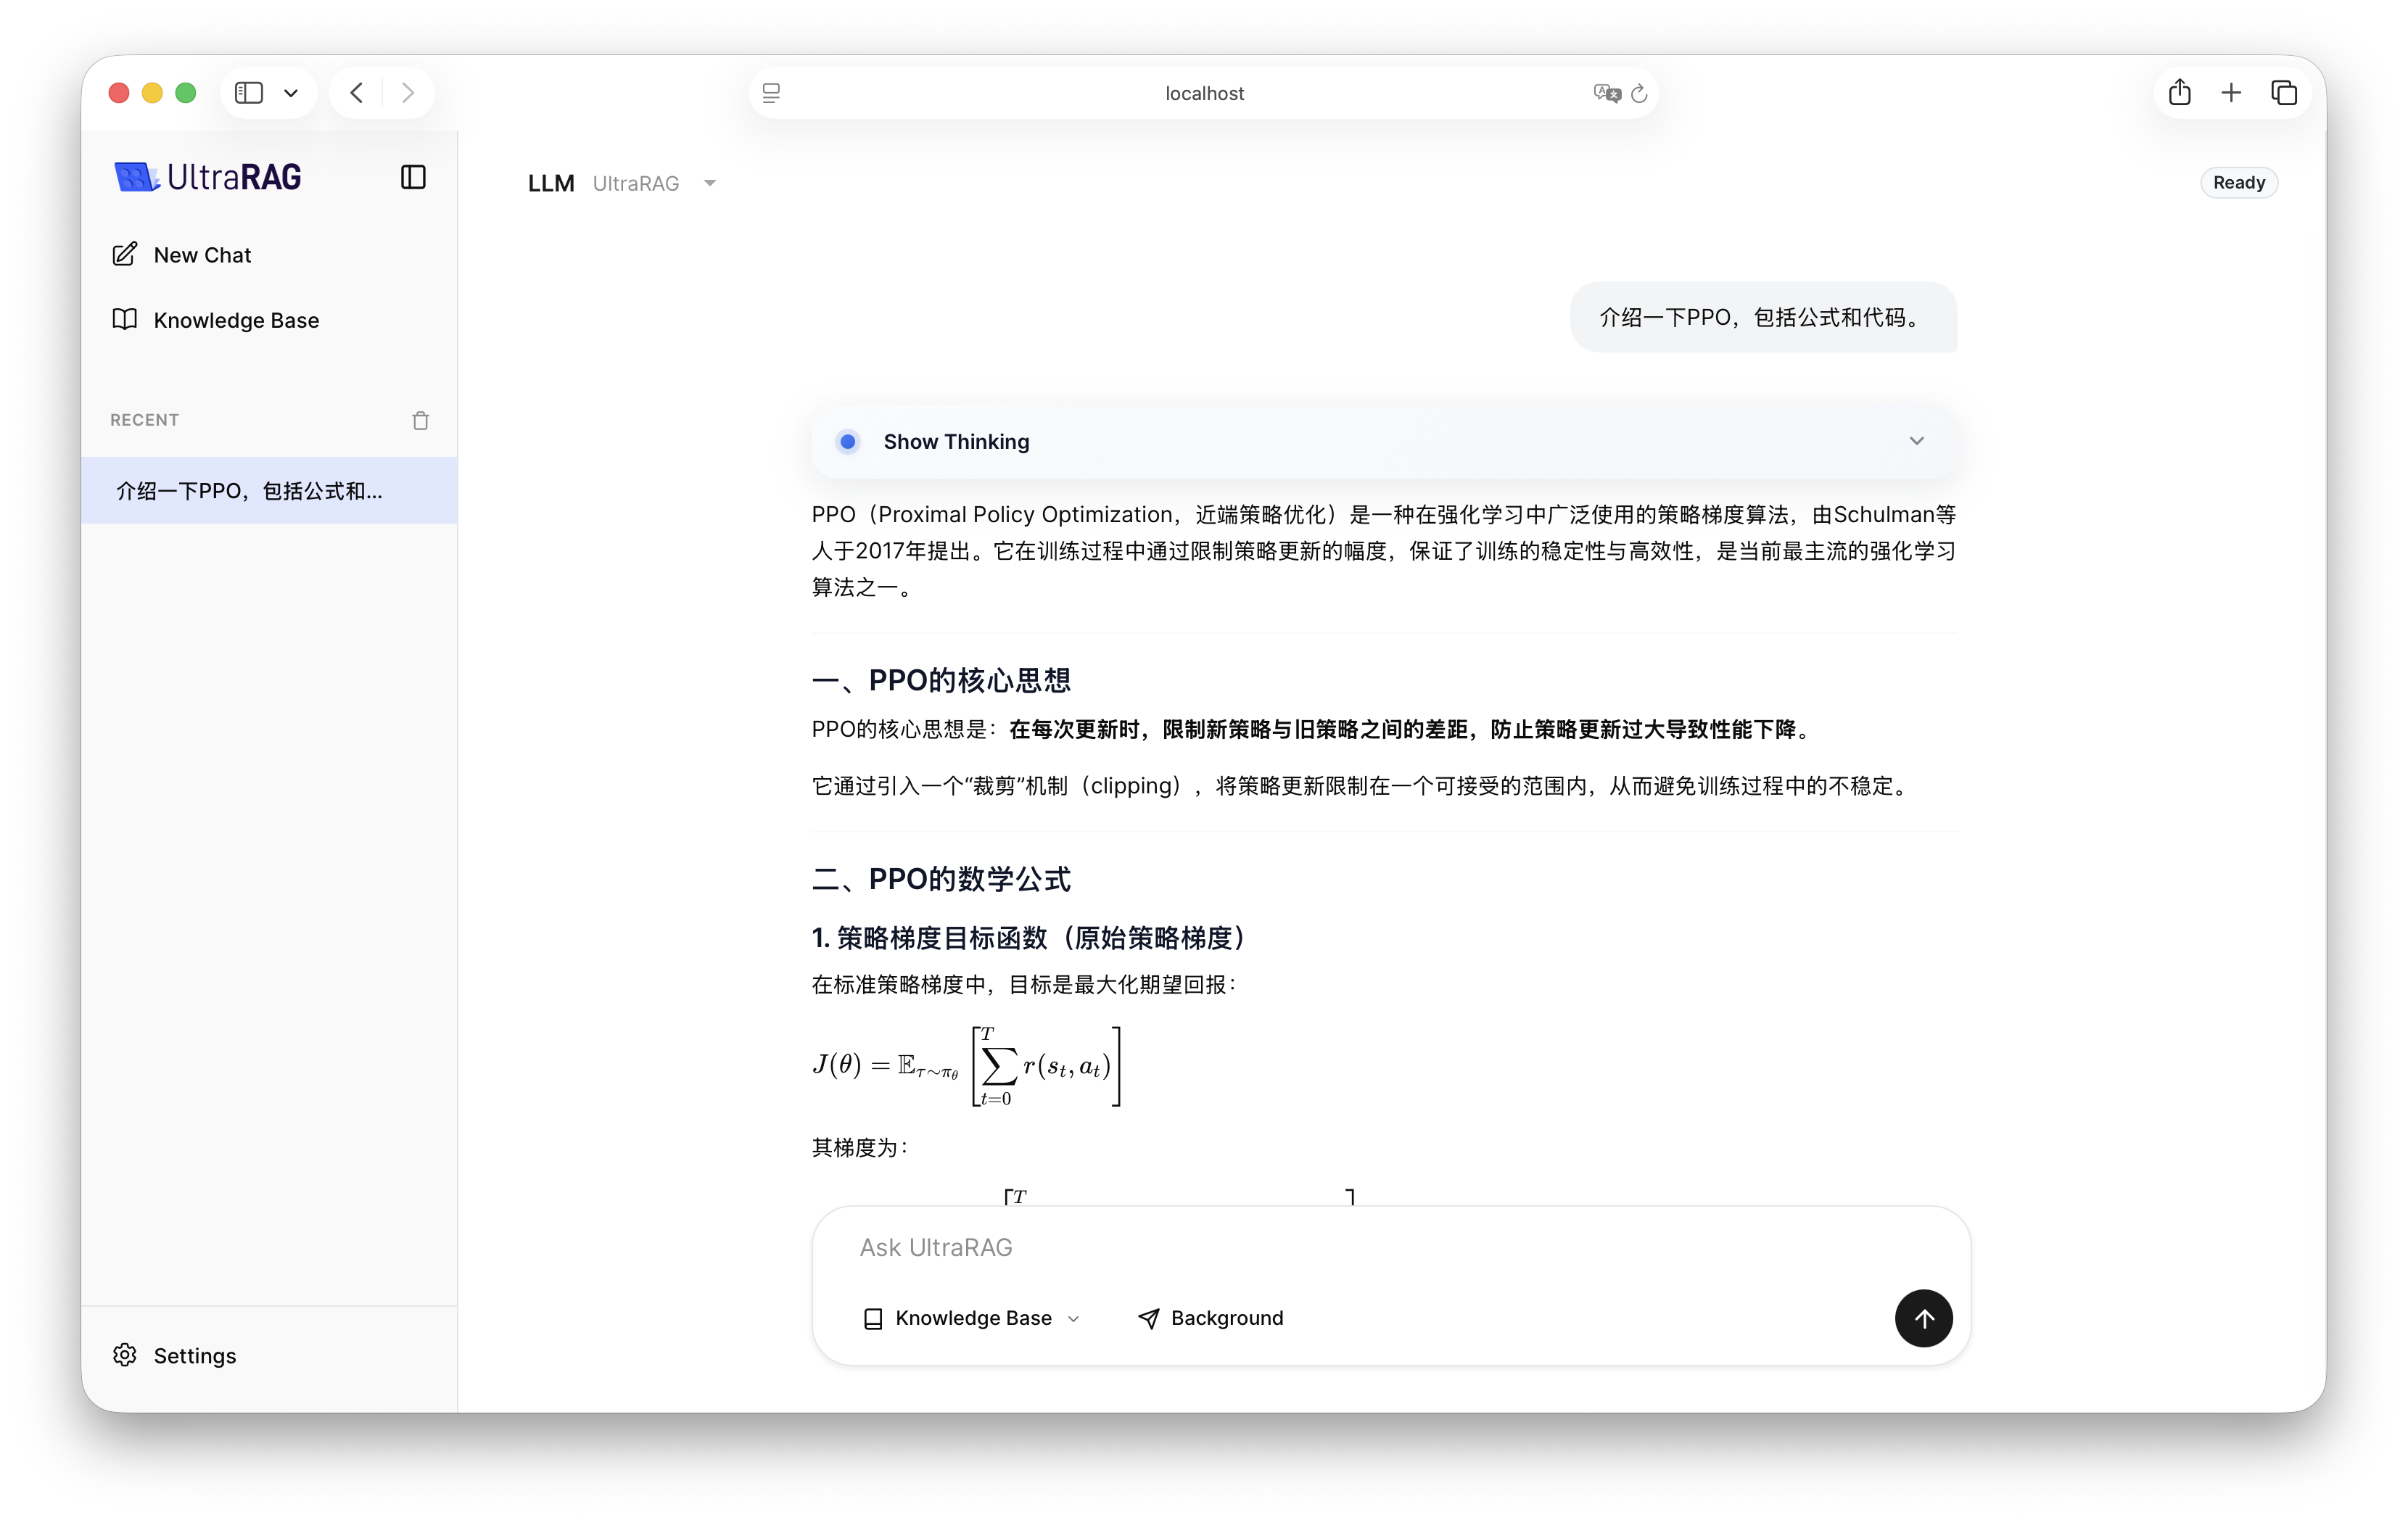
4. 效果演示
配置完成后,启动 UltraRAG UI,在界面中选择 LLM Pipeline 即可开始交互。